Pages

Friday, 15 February 2013

Pancakes!

Since Tuesday was Shrove Tuesday, my friend Gracie came over and we made some mouthwateringly delicious pancakes at a fairly unsociable hour. I would say they were a long shot from gourmet and the calorie count may have gone a bit through the roof, but who cares- there's nothing like a seasonal midnight treat to finish off your day!


We didn't have any scales so the recipe measurements were all down to guess work (I was pretty worried we'd end up with a flour-y mush),  but they came out fine in the end which I felt was pretty impressive!


Mine was smothered in sugar, lemon, ice cream, fudge sauce AND sprinkles which was pretty decadent but all the more delicious for it! Gracie even tried cooking the sprinkles into the batter, but it didn't work all that well- they just lost all their colour and made the pancakes a tad on the crunchy side...


All in all, I had a scrumptious evening and I hope you all did too!


Wednesday, 13 February 2013

Soup, Glorious Soup!

Why oh why does it keep on snowing? This is England and the only snow I'm used to is the odd sprinkling here and there- present one second and gone the next. This must be the third time it has settled just this year! This weather calls for something seriously yummy to keep away those cold winter blues...

This soup is not the most glamourous of foods, but is something I always make when I have lots of odds and ends floating around as it's great for using them all up and tastes delicious in the process! It's not too heavy, the veg provides a helpful winter immune system boost and  it fills you up in the same way any hearty meal would! I'd definitely recommend it for cozy winter's nights beside the fire, or as in my case, as a last ditched attempt to stay warm in a freezing student house- I'm already wrapped up in fifty blankets and my (equally un-glamourous) fluffy pink dressing gown so this will hopefully tip the balance!

As I've already said, you can literally bung anything in this, but here's what I use:

carrots
a few handfuls of mushrooms
one leek
an onion
a handful of chick peas (you could use pasta or even rice here)
pepper (any colour- I used the last of three different ones!)
chicken 
one clove of garlic
vegetable stock cube
cream (soft) cheese
a splash of worcester sauce
butter/oil
a pinch of salt and pepper

Start by chopping up all your ingredients. Pop your stock cube in a deep saucepan, add your salt and pepper and cover with water- normally the stock cube packet will tell you how much water you need but to be honest, I just fill my largest saucepan. Add your chickpeas to this pan now and boil. 


 I then begin by steam frying my leeks (see my chicken pie post if you're not sure what this is). Once you've done this, tip them in your deep saucepan. Next, soften your mushrooms, peppers, onions and carrots in some butter by cooking on a low heat until squishy. Throw them in the saucepan with the leeks.


Now onto the chicken. Fry your chopped garlic until golden brown, then add your chicken pieces and your splash of worcester sauce- fry until cooked all the way through and the sauce is absorbed. Add these to the saucepan. 


This is when I add the cream cheese- just bung it in the saucepan with the rest of the ingredients. Give the mix a good stir and turn down the heat to a low simmer. Simmer for about 20mins and then you're done! Serve with some thick crusty bread. 


P.S. If you're someone who's not a fan of chunky soups, you can give the whole thing a quick blast in a food processor so it becomes a purée. 


Monday, 11 February 2013

Winter Warmer: Chicken Pie

I'm not a big fan of heavy winter food- thick casseroles and stews are simply not my thing. Neither are pies, or so I thought. One of my very good friends taught me to make this chicken pie and I have to say, it's one of the best I've ever tasted! It's also super simple to make and the cosiest of winter comfort food.


So what do you need?
a large leek
one red onion
two handfuls of mushrooms
one garlic segment
cream (soft) cheese
a couple of chunks of butter

pre-made puff pastry
chicken 
salt and pepper

Firstly start by chopping up all your ingredients. 


Then, 'steam fry' your leeks. This is when you put a couple of inches of water in a pan, stick your leeks in with a pinch of salt and bung a lid on. You let the water boil, but you're aiming to cook the leeks mostly by the trapped steam. This means that by the time the leeks are cooked through, most the water is boiled off and you're left with the yummy goodness that seeps out of the veg when it's boiled. 


I use my multi-purpose-amazing-student pan (I think it was 15quid from Asda and was definitely a solid investment) - it's almost wok like and I use it for everything! The only problem is I don't have a lid big enough so I end up using our pizza oven tray...


While you're doing this, start to caramelise your onions. You do this by popping a blob of butter in a pan and then frying your onions in it on a low heat. Make sure you give them a stir every now and then so they don't burn! When they look cooked, just put them in the same pan as your cooked leeks. (Turn the heat off for now- don't worry about your ingredients going cold!)


Next, cook your mushrooms in some butter until they've soaked up most of it. Then throw them in the pan with the leeks and onions.  


Now it's time to cook the chicken. Put a dab of oil on the bottom of your pan and when it's nice and hot, add your chopped garlic. When this is starting to brown, add your slices of chicken. Wait for it to be cooked through and then add it to the rest of the ingredients.

You should be left with a pan filled with the leeks, onions, chicken and mushrooms. Put this on a low heat and add your cream cheese (I normally use in excess- half the packet should do however), another pinch of salt and a hearty twist of pepper. Give all the ingredients a good mix so they're nicely incorporated- the mixture should look thick and creamy. If you think it looks a little dense, add a small splash of water. Hopefully it should already be quite moist from the excess leek water! 

(Nearly done!) Lastly, put everything in a pie dish and cover with a thin sheet of puff pastry. Simply shove it in the oven for as long as the pastry needs (the packet should tell you). Mine normally takes no longer than 15mins on about 180 degrees. 


Eat hot and enjoy! 

P.S. I tend to freeze most things in portions since I'm normally only cooking for one and don't want to eat the same thing every night for a week. I've found this does freeze fine, but the pastry can go a little on the soggy side.

P.P.S Feel free to add different portions of veg- I've just told you what I put in mine, but you may like more onion, less mushroom and to throw in some carrots- make this your own! 


Sunday, 10 February 2013

Lemon Curd Puffs

If I ever need to placate my mother, I make her a zesty jar of lemon curd. It's zingy yumminess is lovely on toast, with a croissant, or even better, inside a fluffy puff pastry! So here's a simple recipe so you can make these tasty pastries.

Ingredients:
3 lemons
100g butter
200g caster sugar
3 eggs
ready made puff pastry
a sprinkle of brown sugar


To start, whisk the three eggs up in a heat resistant bowl. Add the sugar and butter. Then juice your lemons. Sneaky trick for this- if you put them in the microwave first for 30 seconds, you'll get twice as much juice out of them. (Since my student house microwave is broken at the moment, we boiled ours in some hot water to heat them up!) Pop the lemon juice in with the other ingredients and float the bowl on top of a sauce pan filled with water.


Simmer the water while stirring the ingredients until the butter melts and the mixture starts to thicken- this should take around 10-15 minutes. Leave it to cool and then pour some into a jar. Remember to leave enough to fill your puffs (and don't forget to lick the spoon)!


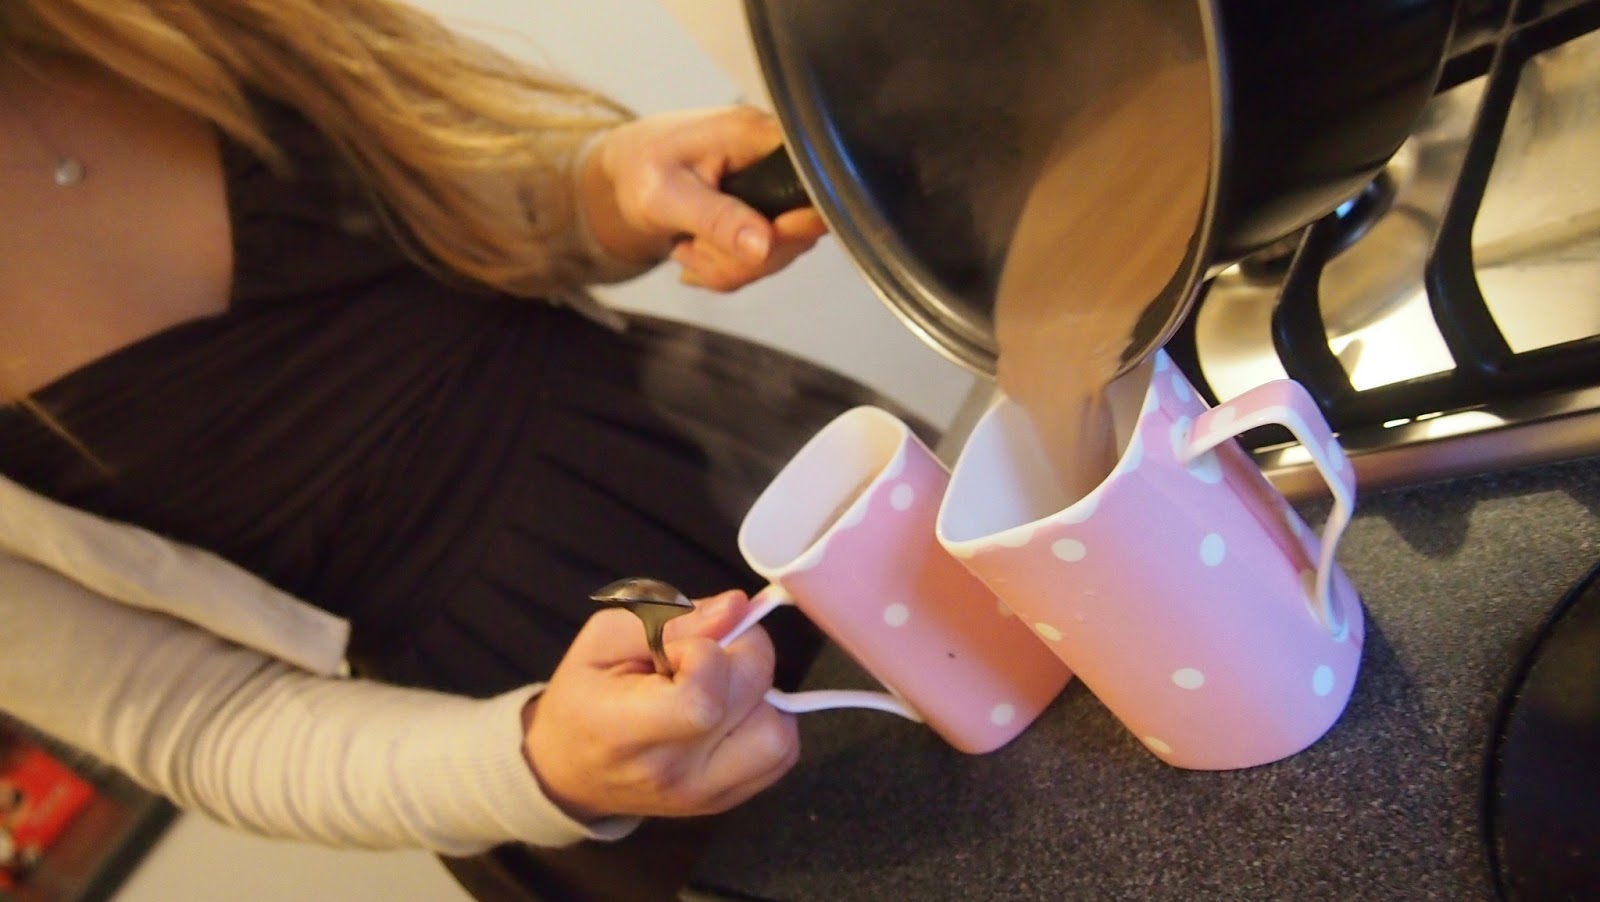
We made some hot chocolate while we stirred the curd- the lack of a microwave is killing me!


Next, take your pastry. If you're lucky enough to get your hands on some ready rolled stuff (super easy!) then you're ready to go. If not, roll out your pastry so that it's no thicker than about half a centimeter. Then divide the pastry into equal sized squares (mine were about 10cm wide) and place them on tray lined with baking parchment.


Place a blob of your fresh lemon curd into the middle of the pastry squares and fold them up so they cover the blob. Sprinkle a pinch of brown sugar over the pastry and place the tray in the oven. Mine went in for about 20mins at 200°  but the pastry packet should give you an idea how long yours might take. If not, just look for when your pastry has ballooned.


There we are, delicious pastry puffs. I think they taste best straight from the oven (but be careful, they're pretty hot!)


Yum!

Home Made Sushi

My lovely friend Grace bought me a sushi making kit and so I thought I'd show you how I got on with it and what ingredients it contained so you can do it your selves. But first, let me introduce you to my best uni friend, Jossi! I pretty much spend all my waking time with her and she is wonderful! She's also experienced in the sushi making department, so offered me a hand.


If you're anything like me, you probably love sushi. There's just something about those tiny gem like parcels which begs you to eat them! However, they've always looked so artistically presented that I doubted I could produce anything nearly as divine.  I'm glad to tell you, they're not as tricky to make as you may think. Then again, I did have a champion roller on hand, so maybe I had a slight advantage?


Ingredients:
300g sushi rice
rice vinegar
3 sheets of sushi nori (the seaweed for around the edges)
a pack of smoked salmon
a couple of carrots
a cucumber (or avocado)
Bamboo mat (for rolling)
pickled ginger, soy sauce and wasabi to serve

Firstly take your sushi rice. (This tends to be a short grain rice and gets sticky when it's cooked- the longer grain variety doesn't stick and so is no use.) Boil this up in a saucepan with double the amount of water to rice. When all the water is absorbed or boiled off, add four tablespoons of rice vinegar. Mix thoroughly. (See how sticky?) Now leave it to cool completely.


Chop the carrots, cucumber or avocado in to thin long batons and the salmon into slim slices.


Next, lay out the bamboo mat and place a sheet of seaweed on it. Then cover two thirds of the seaweed with the rice- pat it down quite flat.  Layer strips of  the filling just under half way up the rice. All you need to do now is roll your sushi! Make sure you role it quite tight. Seal the seaweed with a dab of water and then cut the roll into bite sized slices.


Serve with some soy sauce, wasabi and pickled ginger for dipping. Don't forget your chopsticks!

Thursday, 7 February 2013

Hello Tokyo!

One of the best countries I have ever visited has to Japan- everything about it captivated me, from the beautiful countryside to the bustling city. As I was there on an exchange (which I truly believe is one of the best way to see a country) I was completely immersed in the fascinating culture. I stayed with a host family for ten days, visited their daughter's school (an amazing place which went straight through from kindergarden to university!) treated to traditional Japanese cuisine and whisked away to see some of the most beautiful sights.

One thing that really struck me was just how polite everyone was- everyone queued single file to get onto trains and spoke with respect to their elders, which was frankly refreshing after the everyday rudeness encountered on the streets back home.

I'm definitely a person who's not all that good with change and so although I enjoy visiting other countries, I could never see myself living far from where I live now. Well, until I visited Japan that is. Something about the places I saw captured a piece of my heart and weirdly for me, I have a strong desire to live there at some point in my life!


These photos were taken by the coolest photo booths ever called purikura- essentially you take your photo and then decorate it. This was also the first time I'd ever seen a QC code (they had them wayyy before us). By scanning the code with your phone, the photos could be sent directly to you as well as a print out copy! The arcades which housed these were full to bursting every day with teenagers (and some older people!) getting their photos taken.   


Disney Land Tokyo! We went on valentines day- you have never seen anything cuter than fully grown men and women with Mickey Mouse ears on running hand in hand to get to the rides before all the kids!


Traditional sushi - I have to say, this experience taught me I'm not a fan of eel


A beautiful temple


Cherry blossom


Stone monks


A view from a train


Prayer flags


An egg boiled in a volcano! 


We visited an art gallery and this was one of my favourite installations- a huge stain glass tower!


We stayed a night in a traditional hotel and slept on the floor on bedding we unrolled from the cupboard. 


I was taken to a fantastic restaurant in a skyscraper. It had 360 degrees glass windows and this was the stunning view!


The entrance to Harajuku street! 

Related Posts Plugin for WordPress, Blogger...