Pages

Showing posts with label recipe. Show all posts

Thursday, 9 November 2017

Delicious Spiced Lamb in Brioche Buns

For Bonfire Night, I went home to my Mum's for a bit of a Bonfire Night Party with family friends. Mum had gone typically all out, setting up a table in the loggia outside, stringing fairy lights everywhere and cooking A LOT of food. She'd gone for wintry comfort food theme - shepherds pie, crumble, spiced apple and the most amazing spiced lamb which had everyone scraping the bottom of the dish.


Unfortunately I don't have a picture as it was quite dark outside and it wasn't the prettiest looking of dishes, but I do have a recipe!

Mum had adapted this from a Tom Kerridge recipe for pulled beef and, if you choose to replicate it, it will be the best thing you eat this winter. Yes, it even beats Christmas Dinner.

For this tasty adaption, you will need:
  • - 1 tbsp coriander seeds
  • - 1 tbsp cumin seeds
  • - 1 tbsp yellow mustard seeds
  • - 1/2 tbsp black peppercorns
  • - 1/2 tbsp dark brown sugar
  • - 1/2 tbsp smoked paprika
  • - 1/2 tsp cayenne pepper
  • - 1kg lamb, rolled breast and shoulder (you can ask your butcher to help you with this)
  • - 250ml vegetable stock
  • - 50ml brown sauce
  • - 30g brown sugar
  • - Worcestershire sauce 
Start by lightly toasting the coriander, cumin, mustard and peppercorns in a dry pan, before crushing the spices in a pestle and mortar. Mix in the sugar, paprika and cayenne pepper. 

Next, take your lamb and rub the spices into the meat. Then, add the spiced lamb to a roasting tray and pour in your vegetable stock. 

Heat your oven to a low heat (180C) and cook for four hours. 

Once the four hours is up, take out the oven, pour off the juices (save these!) and shred the meat with a pair of forks. Lastly, whip up some sauce by mixing together the brown sauce, a splash of Worcestershire sauce, the sugar and the juices from the roasting tin. Pour this over the meat and you're ready to go! 

Mum served the lamb in brioche buns with 'dry' coleslaw, which is basically just shredded cabbage, onion and carrot. The lamb had enough excess sauce and juice that there was no need for the added mayo. 

After we'd stuffed our faces (and I'd waved around four sparklers. Yes, four. I was very happy.) we headed off to our local fireworks display. As glittering sparks flew through the air, I was suddenly very glad Guy Fawkes had tried and failed to blow up Parliament all those years ago. 

So give the recipe a go and let me know your thoughts! I promise you won't be disappointed! 


Friday, 24 October 2014

Recipe: Lemon Curd and Raspberry Cream Naked Cake

Although Autumn has crept upon us, this week has been beautifully sunny. To celebrate the season's last salute to Summer, I set about baking this little naked cake. To me, nothing screams 'Summer!' more than raspberries and cream and, well, I just have a weakness for lemon curd! Put the two with cake and I must surely be onto a winner?


To recreate this little beauty, you will need the following...

For the lemon curd:
The grated rind and juice of one and a half lemons
50g butter
65g sugar
2 eggs

For the raspberry cream:
150ml double cream
5 or 6 raspberries
2tbsp icing sugar

For the Sponge:
100g butter
100g sugar
100g self raising flour
2 eggs
juice of one and a half lemons
1tsp baking powder

I always start by making the lemon curd. This is very simple. All you have to do is whisk up your two eggs in a bowl with your lemon juice and rind. Then pour this over your butter (cut into little bits) and and sugar which should be in a heat proof bowl. Place your bowl over a pan of simmering water and stir together the mixture until the butter melts. Continue to stir until the mixture starts to thicken which should take around 7mins. Once it has thickened, take it off the heat and let it cool- it should thicken more as it gets cooler. Once it is cold, you will have a tangy lemon curd, ready to be used on your cake. (And don't worry! You should have a plenty extra left over as well!)

Next, the cake. This is a super easy no fuss 'all in' recipe which my family has championed since before I could reach the mixer. Preheat the oven at 180 degrees and then simply bung all your cake ingredients into a bowl and whisk. Once you have a fluffy mixture, separate it out into two well greased cake tins- the ones I used were fairly small and shallow, with a roughly 6inch diameter. Then, pop your tins into the oven and let them cook for about 25-30mins, until golden brown. As soon as they're done, upturn your cakes onto a wire rack and leave them to fully cool.
N.B. you could also use one deeper cake tin and cut this in half once it's cool, although personally I never manage to cut it straight! If you do this, you will also need to adjust the cooking time appropriately. 

While the cakes are cooking and cooling, take the time to create your cream filling. Simply pour your double cream into a mixing bowl, add two tablespoons of icing sugar and your raspberries. Then, beat hard until the cream thickens to make stiff peeks. This can really take some work if you're doing it by hand but the end cake is definitely worth it!

Once you have your cakes, your cream and your curd, it's just a simple matter of assembling your cake! Take one cake and smear one face with lemon curd and do the same to the other cake, just with the cream. Sandwich together and vôlá, you are done! I used a sieve to dust mine with a little extra icing sugar and stuck on some raspberries and blueberries with some icing paste (icing sugar and a couple of drops of water, mixed to a thick paste) to make it a bit prettier.


I have to say, personally I think this cake is one of the most elegant and tasty things to come out of my kitchen. One mouthful and you can practically taste the summer sun! What do you guys think?


Tuesday, 15 July 2014

Recipe: Homemade Caramel Cupcakes with Salted Caramel Buttercream Icing

This simple recipe consists of three parts. Firstly, we have to tackle making a rich caramel. Secondly,  this caramel is used to make the perfect little caramel cupcakes and finally, used to make the creamy salted caramel buttercream. Put together, you have one delicious teatime treat!


The Caramel 

You will need:
50g caster sugar
a splash of water

1. Start by coating the bottom of a large pan with an even layer of your sugar. I've found it's easier if you use a light coloured pan as you can monitor the colour of the sugar more easily.

2. Trickle some water over your sugar so that it is all wet, but not drowning in water.

3. Slowly and carefully begin to heat your pan, until it reaches a medium heat. Keep stirring the sugar and watch carefully for colour change. It should start to turn a light brown and then continue to darken. Beware! The colour can change quickly so don't abandon your pan throughout this process. You want to remove the sugar from the heat when it reaches a rich brown. However, remember that sugar retains heat and so will continue to cook when you remove it from the stove. Therefore be careful to remove it long before it burns! It is much better to be over cautious and remove the sugar a little early and have to reheat than end up with a burnt pan!

4. You will now have a pan of runny caramel which can be spooned into the cake and buttercream. If it sets a little, you can add a dash of water and gently reheat it to re-melt the caramel.


The Cupcakes

You will need:
100g brown sugar
100g self raising flour
100g butter
2 eggs
1tsp baking powder
3tsp caramel
optional scoop of caramel chunks

Note: I used my cupcake maker to cook my cupcakes to ensure they were uniform. However, if you don't have one of these, simply preheat your oven to 180C and cook your cupcakes in paper cases for 10-15mins or until an inserted skewer comes out clean. 
  
1. Simply bung all your ingredients in a mixing bowl and mix until thoroughly incorporated. We've used brown sugar instead of the usual caster in order to give the cupcakes a richer flavour, and I like adding the extra caramel chunks for a little gooey surprise. These are widely available in supermarkets.

2. Cook!

3. Leave to cool in preparation for icing.

The Salted Caramel Buttercream

(Here comes the best bit!)

You will need:
200g icing sugar
100g butter
4tsp caramel
a generous pinch of salt flakes (I used shavings from a rather special rose pink block of salt, found in Fortnum & Mason).


1. Simply cream all your ingredients together! Your buttercream should be reasonably stiff so if you're finding it a bit runny, it could be because it needs a dash more icing sugar or it's a bit warm (which can be countered by letting it set for a little in the fridge).

2. Pipe onto your cold cupcakes.

3. Enjoy!

I have to say I am a massive fan of these homemade cupcakes- they're perfect with a pot of tea (chai is my favourite!) and a gossip!


Tell me what you think and also, what are your favourite flavour cupcakes?


Sunday, 24 November 2013

Gourmet Gadgetry: Cupcake and Muffin Maker

The other day, Marcus surprised me by sending me a little present to congratulate me on obtaining a place on a graduate scheme I'd applied to (yay!). I excitedly opened the rather large box to reveal a cupcake maker by Gourmet Gadgetry!


So, if you're wondering how exactly a cupcake maker works, it's essentially a toasty maker, just for cupcakes. It supposedly creates perfectly formed little cupcakes in a fraction of the time they normally take to bake. I couldn't wait to try it out and so cracked on with some baking!


I baked some very simple lemon cakes. Here's what you'll need if you fancy doing the same:

For the cakes:
100g Butter
120g Self rising flour
120g Caster sugar
2 Eggs
1 tsp Vanilla essence
1 tsp Baking powder
Juice of half a lemon

For the icing:
100g Butter
200g Icing sugar
A few drops of food colouring

Just blend the mixture all together until it's of a smooth consistency. Then, pop your mixture into either your cupcake cases and into the oven (I tend to cook mine at 180C for about 15-20mins) or into your cupcake maker, wait for them to go golden brown and then remove and leave to cool.

While you're waiting for them to cook, you can whip up some icing. Pop your butter into a bowl and whisk until it's smooth. Then gradually start adding your icing sugar and your drops of food colouring. I normally taste it as I go along to see when it's sweet enough. You can then just smear your icing onto your cool cakes or ice them with a piping bag like I did!


I found that the cupcake maker did make the entire process much quicker. The moment I put the batter into each little well, I could see it starting to cook. Once the lid was on, I only had to wait about seven minutes before they were done. Not only that, each cake slid easily out of their well and each was golden brown and identically shaped. Decorating them was very easy as no cake had been able to 'rupture' or had risen oddly. 

I'd definitely recommend Gourmet Gadgetry's cup cake maker (especially to students fighting for oven space!) as it made baking just that bit quicker and easier. There was also no need to buy cupcake cases! I churned out around 28 cupcakes in the end since I just put in more batter once the first round were finished. Luckily, I have three hungry housemates who will be more than happy to eat them all!


Saturday, 24 August 2013

The Perfect Syrupy Lemon Drizzle Cake Recipe

On days when rain is bucketing down so hard that you'd get drenched walking between your front door and your car, you may feel that the last thing you want to do is leave the house. On days like these I often feel restless, wandering around the house wondering what to do with myself. Then, one particularly wet day I discovered the perfect answer. Baking.


Baking can keep me occupied for hours. The process of deciding what to make, picking out your ingredients, combining them in just the right quantities and then watching them cook in the oven is incredibly therapeutic and perfect for a day when really, you can't do all that much.

Over the many rainy days we have in Britain, I've perfected one recipe: my (if I do say myself) amazing lemon drizzle cake. Today, I thought I'd share it with you.

You will need:
175g of sugar
175g of self raising flour
175g of butter
3 eggs
2 lemons
a teaspoon of baking powder


This recipe is very simple and rather quick to make. Start by preheating your oven to 170 degrees centigrade. Then grate a little of the lemon peel off one of the lemons. (I tend to use a 'lemon zester' as you get lovely thin ribbons of peel.) Be careful only to use the yellow peel- the white pith can be quite bitter. Next, squeeze the juice out of one and a half of the lemons. If you heat them for 30 seconds in the microwave first, you'll get more juice out. Bung your peel and your juice into a large mixing bowl.

After this, simply tip in the rest of your ingredients and mix until you have a smooth creamy mixture. Pour your mixture into your well greased baking tins so they fill about half of the tin. Personally, I tend to use four mini loaf tins, but you can use anything from one big tin to cupcake cases.


Bung them in the oven for around 25 mins. This time will change slightly depending on the size of your tins. (If your cake is larger, it will take slightly longer). To check if your cake is done, see if it is a golden brown on the outside and 'springy' to the touch. If you're not sure, you can poke it with a skewer- if it comes out the cake covered in raw mixture, give your cake a while longer.

Once you've removed your cakes from the oven, let the tin cool and then tip your cakes onto a wire rack to cool further.


If you wish to ice your cake, take the remaining half of the lemon from earlier and squeeze the juice into a small bowl. Mix this with either three tablespoons of icing sugar or 3 teaspoons of castor sugar. The type of sugar you use will change the type of icing- you will get a thicker icing with icing sugar, where as you'll get more of a syrup with the castor sugar. If you wish to make a syrupy icing, you should heat your bowl for around 30 seconds in the microwave to help the castor sugar dissolve into the lemon juice. When your cake is cool, drizzle with your chosen icing and leave the icing to set.


I decorated mine with a twist of lemon coated in lemon syrup. To do this, take a thin slice of lemon and make a small cut to its centre. Twist and drizzle with your chosen icing. 


There you have it, the perfect cake to wash away rainy day blues!


Monday, 1 July 2013

Home Made (Ginger and Mint) Lemonade


Yesterday it was beautifully sunny so my family and I hit the garden to soak up some sunshine.


However, I was craving one thing- home made lemonade! Last year I stumbled upon a Delia Smith recipe which was yummy, but personally I prefer something with a little more kick. Therefore this year I whipped up this little variation which I find just as refreshing, but has that bit more of a 'zing'.


You will need:
5 lemons
150g of caster sugar
a knob of ginger
a few sprigs of mint
1.5l of water

Start by grating the lemon and the ginger into a large saucepan. Be careful only to grate the outer yellow part of the lemon, not the white layer underneath as the white layer is quite bitter. Next, rip up the mint leaves and add them to the saucepan, along with the juice of the lemons and the sugar.


Finally, boil the water and pour it over the contents of the saucepan. Stir and leave to infuse over night. The next day, simply pour the mixture through a sieve and then you're done! Serve chilled with a sprig of mint.


Sit back, relax and enjoy!


Wednesday, 6 March 2013

Say Cheese!


This little indulgent snack is one I quite often whip up when I'm feeling like a bit of cheap luxury- it's definitely food for the soul and maybe not a favourite if you're watching the scales, but who could resist it, honestly?


There is something about melted cheese that begs to be eaten. I don't know about you, but I'm the kind of person who will pick the stringy mozzarella straight off a pizza and gobble it right down, or eat a tosty burning hot so the liquid cheese will drizzle  into my waiting mouth. 


Well, if those cheesy dreams are not the most appealing to you, this yummy treat will allow you to get the same effect just with the illusion of some sophistication at the same time. Neat, huh? Its pretense at elegance makes it a great little recipe to dig out if you have guests and are in need of some sort of sharing platter- they may say you can't buy friends, but whoever 'they' are obviously never fed their would-be-friends this! It's also so mind numbingly simple it will literally take you 10mins which will buy you a little more time to natter and relax. 


All you need is a wheel of brie (or camembert), some honey (here I used the squeezy sort, but the thicker stuff is much nicer if you have any!) and some rosemary (again here I had to use dried, but if I'm at home I like to use the fresh stuff, straight off the bush).  For dipping I just used some nice crusty bread, but grapes, cranberries, figs, slices of apple, apricots and walnuts go deliciously as well! 


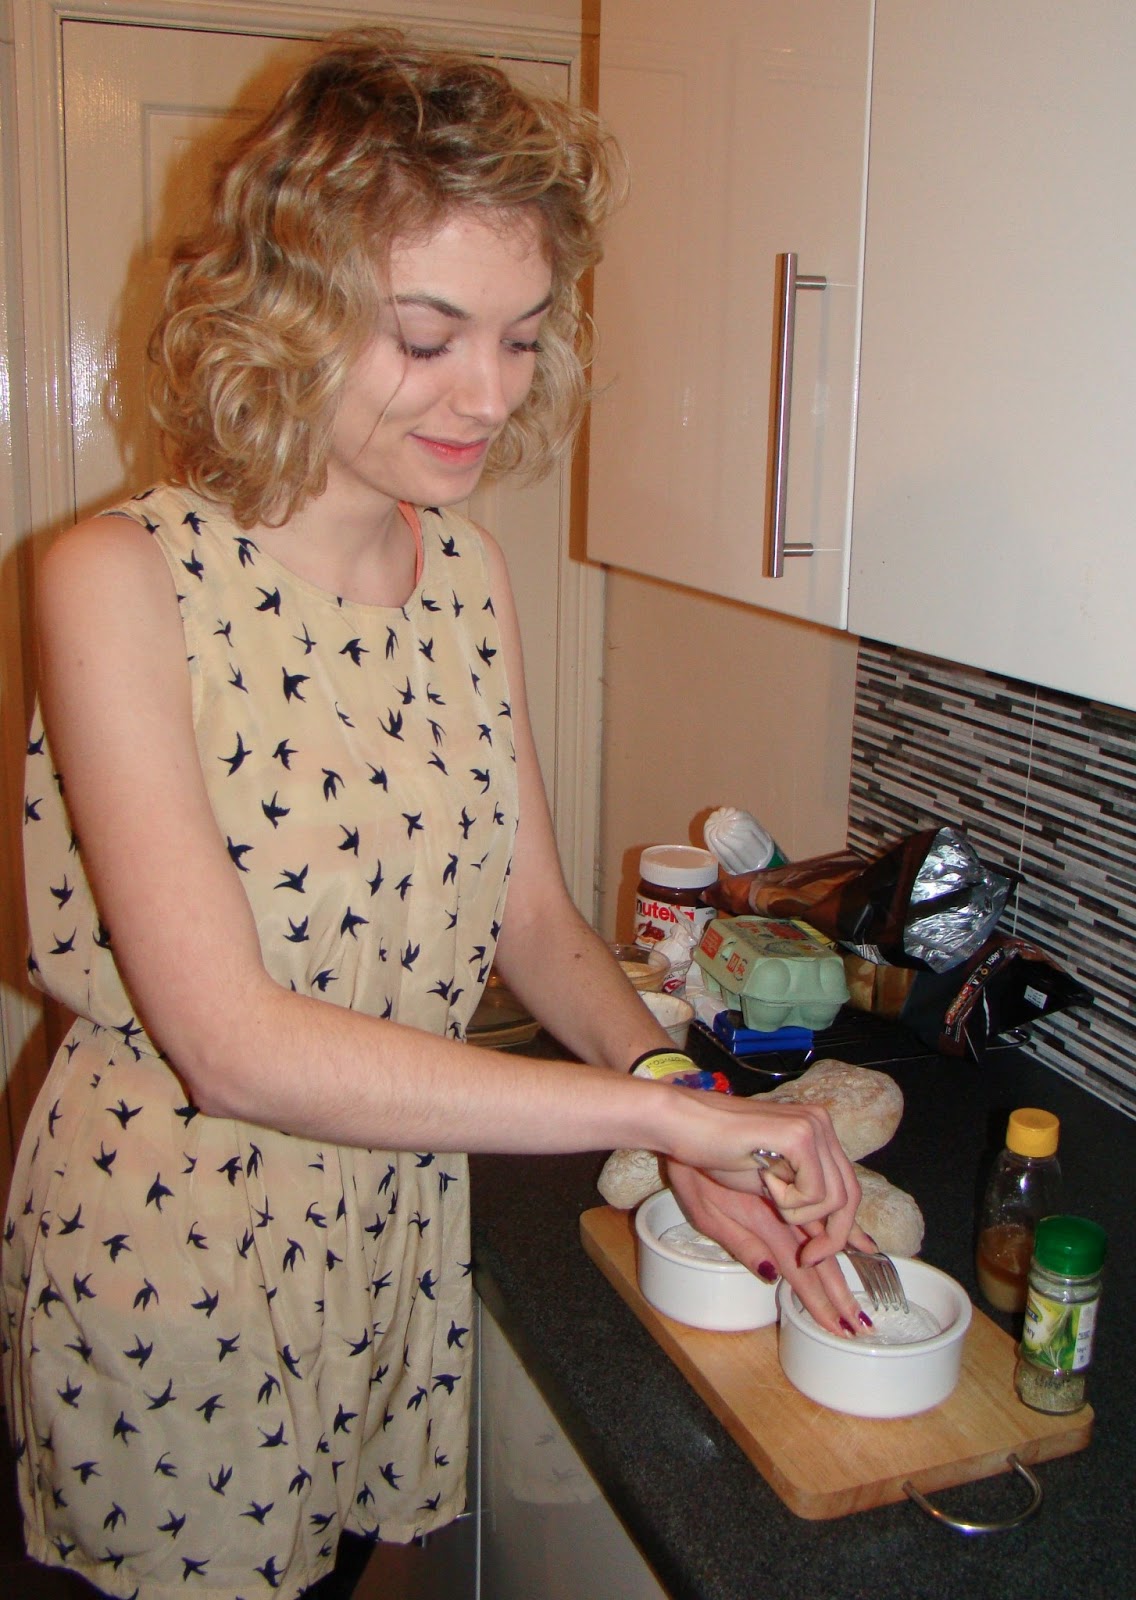
Take your cheese and put it in some kind of heat proof container- I used mini pie dishes. Stab some holes in it and drizzle over your honey. Then, sprinkle on your rosemary and put the whole thing in a warm oven (I normally put it in at around 180 degrees).


When you see your honey starting to bubble and the skin of the cheese 'doming' slightly it's done- don't let the honey burn! 

We caught her...


...then dived in ourselves!


 When you break the skin, you should find all the cheese inside to be deliciously melted. Dive in and dip to your heart's content!


One happy Gracey 


Sunday, 3 March 2013

Cooking with Croissants

Jossi has a bit of a Nigella Lawson obsession. Luckily, she wouldn't be so mean as to keep this all to herself, so we got cooking!

Nigella does a fabulous range of express recipes which all look totally delicious and from my experience so far, really are quick and easy.


We chose to make this truly scrummy caramel croissant pudding - it literally took us about 10mins plus cooking time. We (being the poor impoverish students we are), skimped a little and just used 250ml of milk instead of 125ml of milk and 125ml of cream. For the same reason, we also missed out the bourbon, but it still tasted amazing!


Be careful when you're caramlising the sugar- I have to admit Joss and I burnt it the first time. The sugar retains a lot of heat, so as soon as it reaches the temperature where it starts to burn, you can whip it off the hob as fast as you like, but the damage is done- the sugar will carry on cooking. We found we had to watch the pan like hawks and the moment we saw the tiniest bit turn brown, we turned the heat right down. Then, when about 2/3 of it had caramalised, we turned the heat off completely and the sugar finished its self off.


This is where we burnt it first time- obviously not paying attention!

Being a bit more careful second time around...

Custard time


I'd definitely have to agree with Nigella when she says this is a meal in its self, but that didn't stop Jossi and I polishing off the entire dish!


Related Posts Plugin for WordPress, Blogger...